Click-on Screens Installation

How to Install Click-on Screens

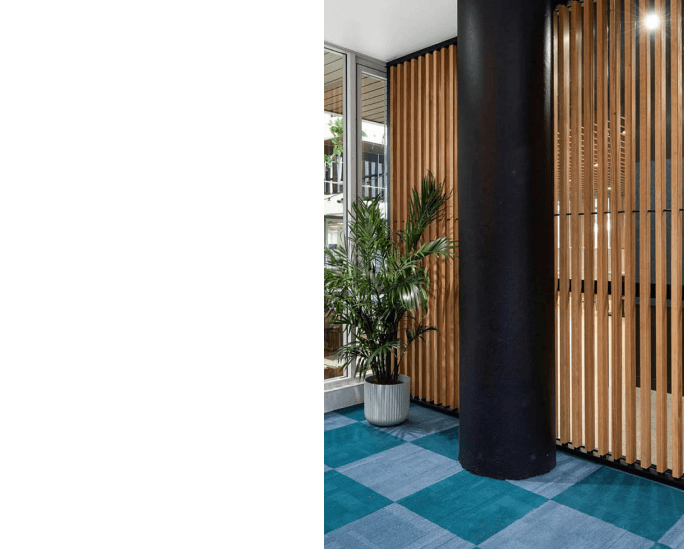
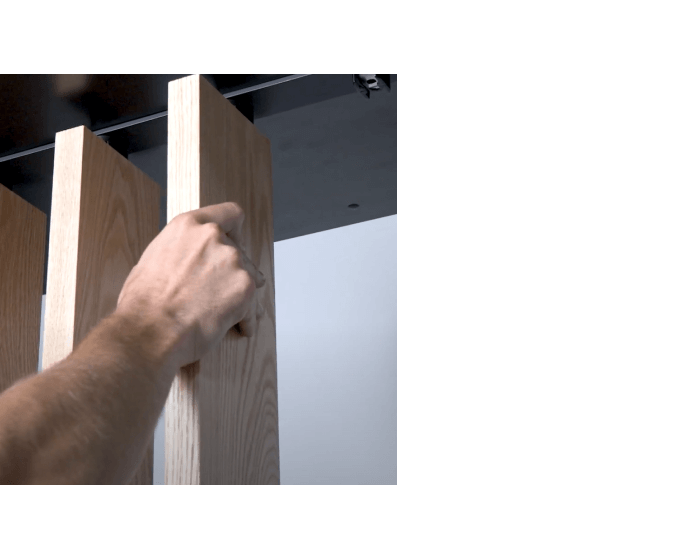
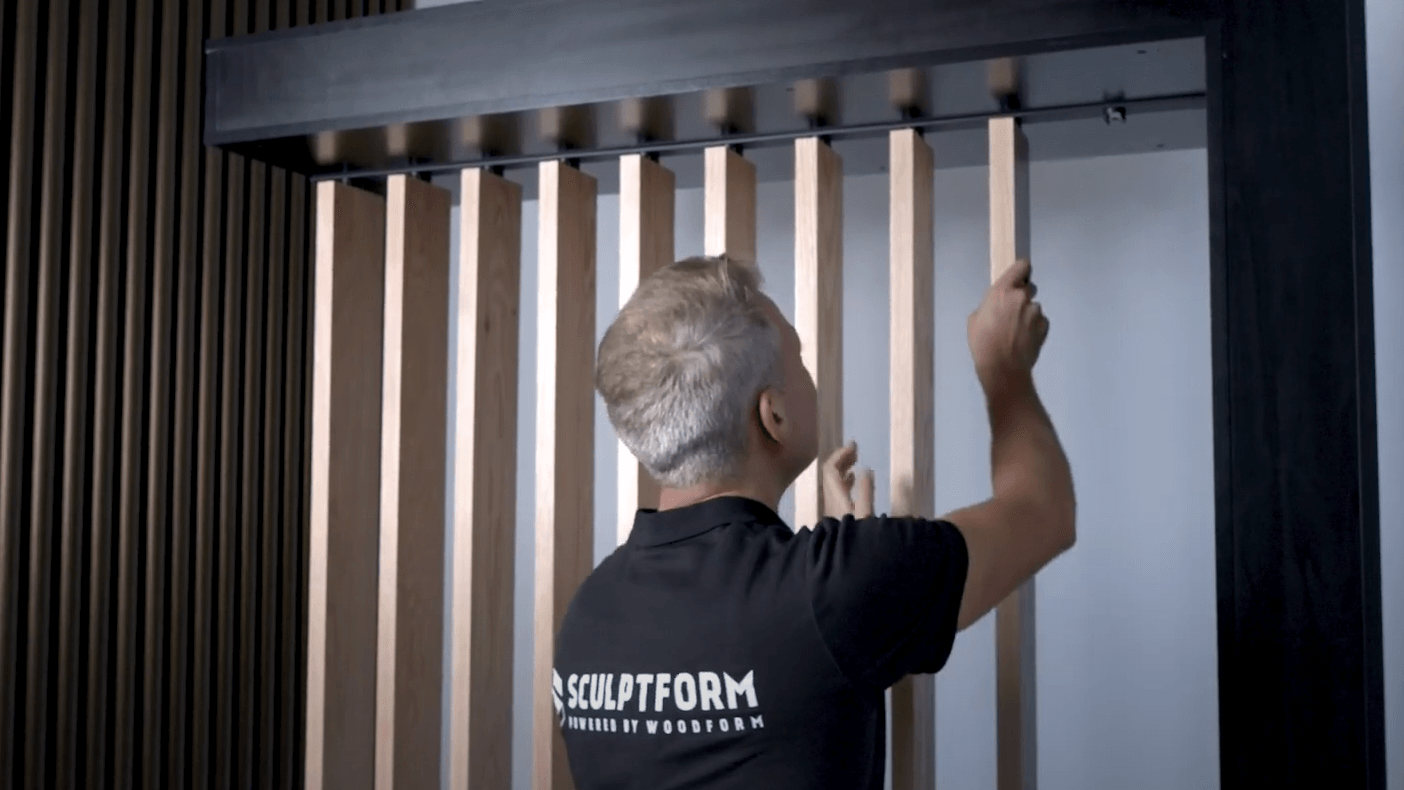
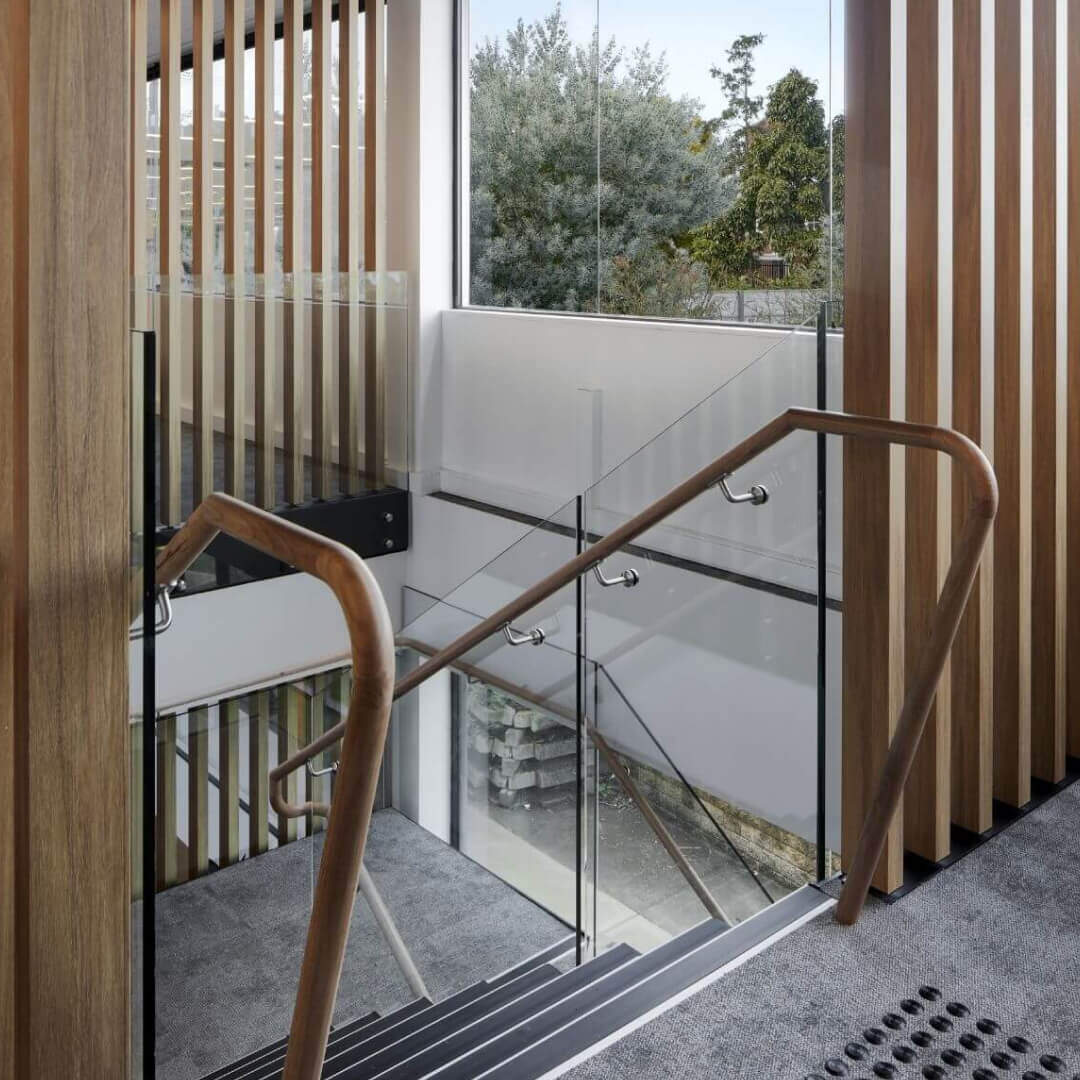
Learn how to install Click-on Screens for both free-standing applications and balustrade infill applications with our step-by-step guide. This comprehensive resource walks you through the key steps for a precise, efficient click-on installation, whether you’re working with end-mount or back-mount systems.

screens-installation_hero1b screens-installation_hero1a

Mastering Timber Screen Installation for a Flawless Finish

If you’re a design professional, builder or subcontractor, understanding timber screen installation is essential for ensuring durability and a clean, integrated finish. For full technical specifications, explore our timber click-on screen and aluminium click-on screen resources.

Select Installation Type

Click-on Screens

End Mount

Watch the full end mount installation process in our instructional video.

video-img_screens-endmount

Click-on Screens

Back Mount

The back mount system allows for discreet fixing where a clean face is required. See the installation video for full visual guidance.

video-img_screens-backmount

Click-on Screens Installation Manual

Download our comprehensive Click-on Screens Installation Manual for detailed technical instructions, expert tips and product-specific guidance on timber and metal screen installation, designed to improve accuracy and save time on site.


Questions Welcome

Got a question that wasn’t covered in these videos?

Need help with your Click-on Screens installation? Contact our expert team via email: support@sculptform.com for personalised assistance, technical advice or to discuss your project in more detail.

You can also view our range of batten systems and accessories to find the right solution for your space.

screens-installation_cta

Frequently asked questions

What are the steps for end mount installation?

Step-by-step summary for end mount installation

Prepare structure: Ensure the mounting surface is structurally sound and level. Mark out batten spacing.

  • Install tracks: Fix vertical tracks to the structure using screws and appropriate fixings.
  • Click-on battens: Align and press battens into place with a downward force until they snap securely into the track.
  • Check alignment: Ensure battens are plumb and evenly spaced.
  • Removal (if required): Use the removal tool to detach battens cleanly without damaging the system.

The end mount option is ideal for applications where the batten ends are exposed, such as freestanding timber screen installations or as a visual divider in open spaces.

What are the steps for back mount installation?

Summary for back mount installation:

Installation is straightforward and time-efficient. Simply fix the mounting track – with factory-fitted clips – to the substrate, attach buttons to the screen battens and snap them into place.

This system is ideal for balustrade infills, privacy screens and wall-mounted timber screens.

What are the tools & material needed for installation?

Before beginning your screen installation, ensure you have the following:

  • Battery drill and driver bits
  • Spirit level and measuring tape
  • Chalk line or laser level
  • Screws, fixings and appropriate anchors
  • Sculptform Click-on Screens System, including tracks with clips
  • Rubber mallet or batten press tool
  • Batten removal tool (optional but recommended)

Request a sample to test finishes and configurations before installation. You can also find a list of our recommended installers for timber screen installation services.

What are common installation mistakes and how do you avoid them?

Achieving a smooth timber or aluminium installation requires precision. Here are frequent errors and how to prevent them:

  • Improper fixings – Use the specified screws or anchors based on substrate type. Inadequate fixings can compromise the system’s stability.
  • Out-of-level surfaces – Make sure walls or frameworks are square and true before installing tracks; uneven substrates cause misalignment. Use our 45 × 25 mm Split Track, suitable for straight runs (back‑mount or end‑mount), spans up to 600 mm between balustrade posts and offers 25–35 mm pull‑out adjustment for on‑site packing.
  • Skipping expansion gaps – For aluminium screen installation, allow appropriate expansion space to accommodate for movement due to temperature and humidity.
  • Forcing battens – Battens should ‘click’ into place with moderate pressure. Forcing may damage the internal clip system.

Refer to our projects for examples of best practice examples of how to install a timber screen.

How do you maintain and care for Click-on Screens?

With the proper care, your Click-on Screens will retain their visual appeal and structural integrity for years to come.

  • Regular cleaning: Use a soft cloth and mild detergent to remove dust and debris.
  • Timber care: For natural timber, apply oil or protective coatings as recommended in the timber click-on screen specifications.
  • Inspect fixings: Periodically check that battens and tracks remain secure, especially in exterior or high-traffic applications.
  • Avoid high-pressure washing: For timber battens in particular, stick to gentle hosing and brushing to prevent surface damage.

Consistent maintenance helps extend the life of your screen and preserves the quality of your architectural feature.

inlineCTA
Let’s get started!

We would love to work with you

Our clients are at the heart of every project. It’s our job to deliver on the big picture and the smallest detail. We’re your proactive design partner – we’ll listen to what you really need and work with you to make sure the job gets done right.